1. Importance of Maintaining Your Deck
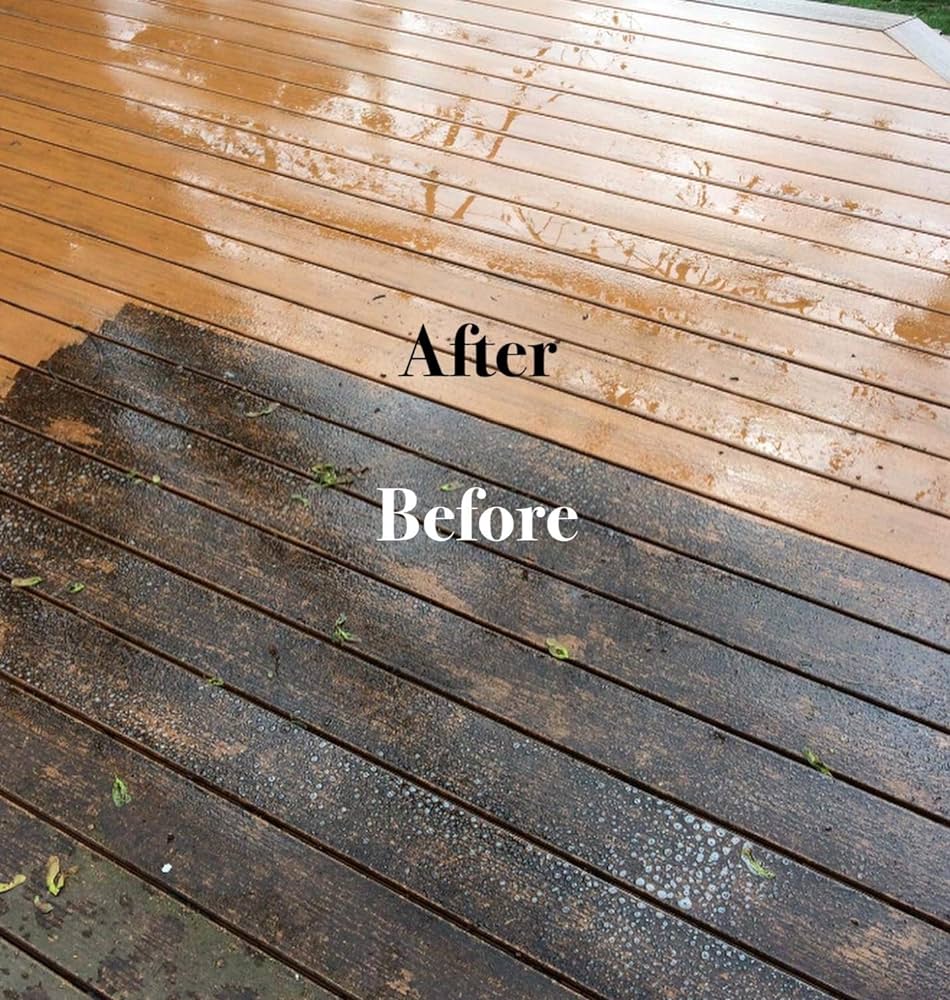
Refinishing a wooden deck is an essential task that can provide numerous benefits for homeowners. Over time, exposure to the elements can cause a deck to deteriorate, leading to cracks, splinters, and a general lack of aesthetic appeal. Refinishing a wooden deck can not only restore its original beauty but also extend its lifespan and improve its functionality. A well-maintained deck can provide a safe and comfortable outdoor living space for family and friends, perfect for entertaining, relaxing, or simply enjoying the outdoors.
Refinishing a deck can also increase the value of a home, making it more attractive to potential buyers if the homeowner decides to sell in the future. In addition, refinishing a deck can be a cost-effective alternative to replacing the entire structure, saving homeowners thousands of dollars in the long run. Furthermore, refinishing a deck can also help to protect the environment by extending the life of the existing structure, reducing the need for new materials, and minimizing waste.
In short, refinishing a wood deck is an important investment for homeowners who want to maintain the beauty and functionality of their outdoor living space. It might sound like a big project, but it can provide numerous benefits, from improving the aesthetic appeal of the deck to increasing the value of the home, and can be a cost-effective alternative to replacement.
2. Preparation: Materials and tools needed for the refinishing process
Before starting the refinishing process, it is essential to gather all the necessary materials and tools to ensure a successful outcome. The following is a list of materials and tools you will need:
Materials:
- Deck refinishing stain or Paint
- Sandpaper (various grits)
- Paintbrushes and rollers
- Paint trays and roller covers
- Drop cloths or plastic sheeting or tarps
- Cleaning solutions (such as trisodium phosphate)
- Scrapers and putty knives
- Caulk and caulk gun
- Wood putty
- Drill and drill bits
- Hammer
- Tape measure
- Level
- Safety glasses
- Work light
- Ladder or scaffolding
In addition to these materials and tools, it is also important to have a well-ventilated work area, protective clothing, and a plan for disposing of any leftover materials. Proper preparation is key to a successful refinishing project, so be sure to take the time to gather all the necessary materials and tools before starting the process.
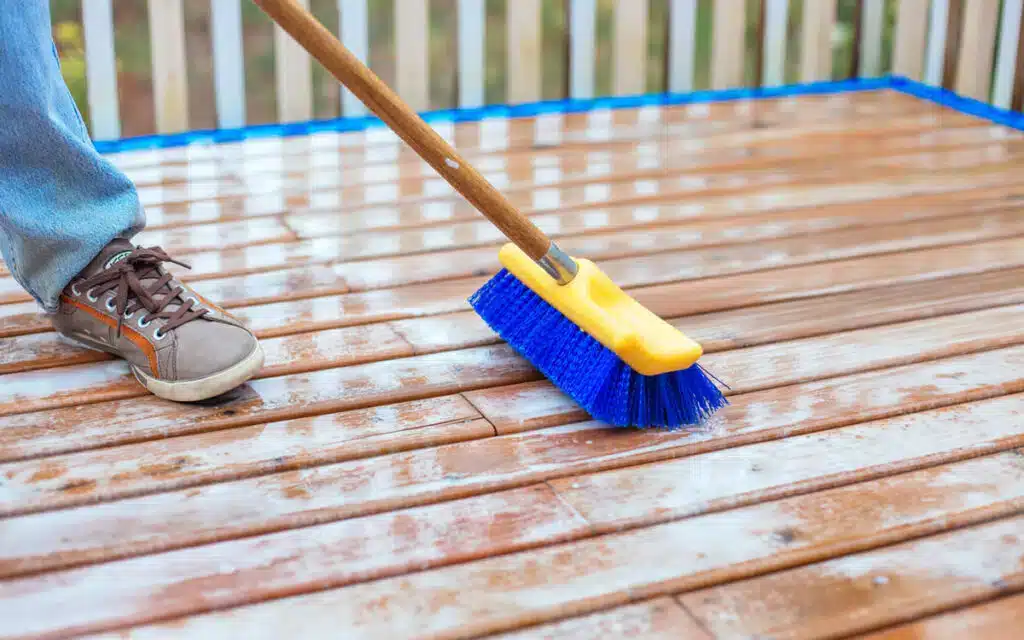
3. Cleaning: How to clean your deck to ensure a smooth and even finish.
Before applying any new finish to your deck, it is essential to clean it thoroughly to remove any dirt, grime, or mildew that may be present. This will ensure a smooth and even finish and help the finish adhere properly to the wood.
- Step 1: Remove any loose debris from the deck, such as leaves or twigs, using a broom or a leaf blower.
- Step 2: Sweep the deck with a stiff-bristled broom to remove any remaining dirt or debris.
- Step 3: Use a pressure washer to clean the deck, paying particular attention to any areas with heavy dirt or mildew buildup. Be sure to use a low-pressure setting to avoid damaging the wood.
- Step 4: Use a cleaning solution specifically designed for decks to remove any remaining dirt or mildew. Apply the solution to the deck using a spray bottle, letting it sit for a few minutes before rinsing it off with water.
- Step 5: Use a stiff-bristled brush to scrub any areas with heavy dirt or mildew buildup, paying attention to all the nooks and crannies.
- Step 6: Rinse the deck thoroughly with water to remove any remaining cleaning solution or dirt.
- Step 7: Allow the deck to dry completely before applying any finish. This may take several hours, depending on the weather conditions.
To maximize the appearance and longevity of your newly refinished deck, it is crucial to clean it before applying the finish.
4. Sanding: A Smooth Finish Starts Here
Sanding is a crucial step in the refinishing process, as it helps to remove any imperfections and create a smooth surface for the finish to adhere to. Several types of sanders, including a palm sander, are available, each designed for specific tasks and surfaces.
Orbital sanders are versatile and can be used on both large and small areas. They work by moving in a circular motion, which helps to remove old finish and smooth out the wood. For more detailed work, use a detail sander, which has a smaller pad and is perfect for corners and tight spaces.
Belt sanders are great for smoothing out large areas quickly. They use a continuous belt of sandpaper to remove material and create a smooth finish. For rough sanding, use a coarse grit sandpaper, and for fine sanding, switch to a finer grit.
Disc sanders are ideal for sanding large, flat surfaces, such as deck boards. They use a rotating disc to remove material and create a smooth finish.
When sanding, always work toward the wood grain to avoid scratches and other damage. Start with a coarse grit sandpaper and gradually move to finer grits until the desired smoothness is achieved. Remember to keep the sander moving to avoid creating uneven patches.
By using the right type of sander and following these tips, you can achieve a smooth, even finish on your newly refinished deck.
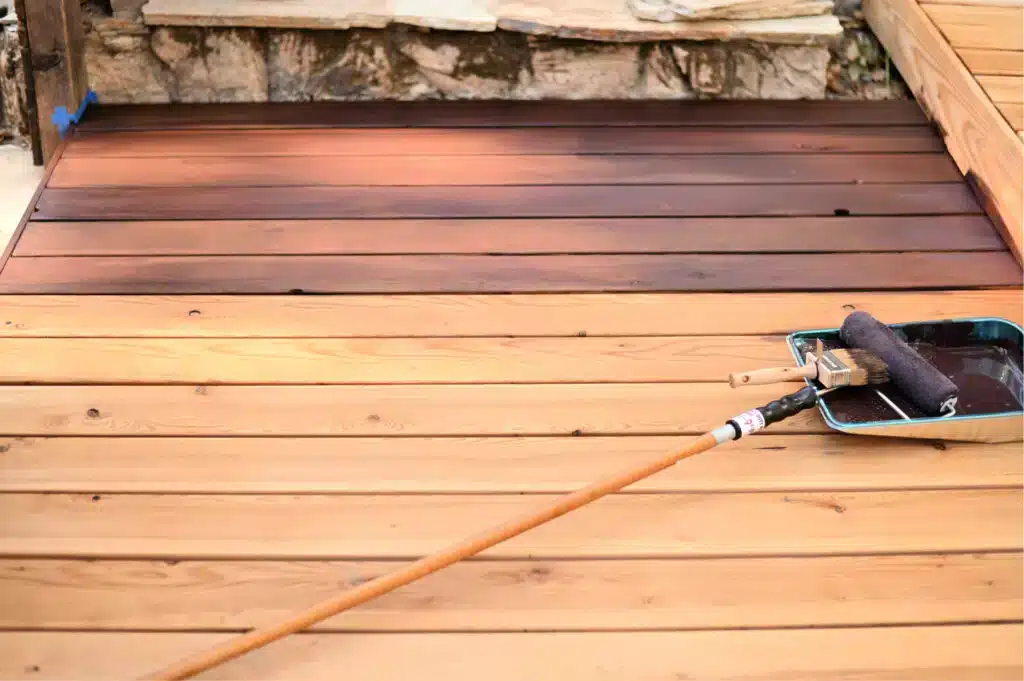
5. Staining and Sealing – How to apply for best results
Dos and Don'ts of Deck Maintenance
| Dos | Don'ts |
| Do clean thoroughly once a year | Don't go overboard with a high powered pressure washer |
| Do cover nearby shrubbery before cleaning | Don't clean with chlorine bleach |
| Do sand before sealing | Don't use paint as a sealant |
| Do clean at routine intervals | Don't assume pressure-treated wood is maintenance-free |
6. Maintenance: Tips to extend your deck’s lifespan and keep it looking its best
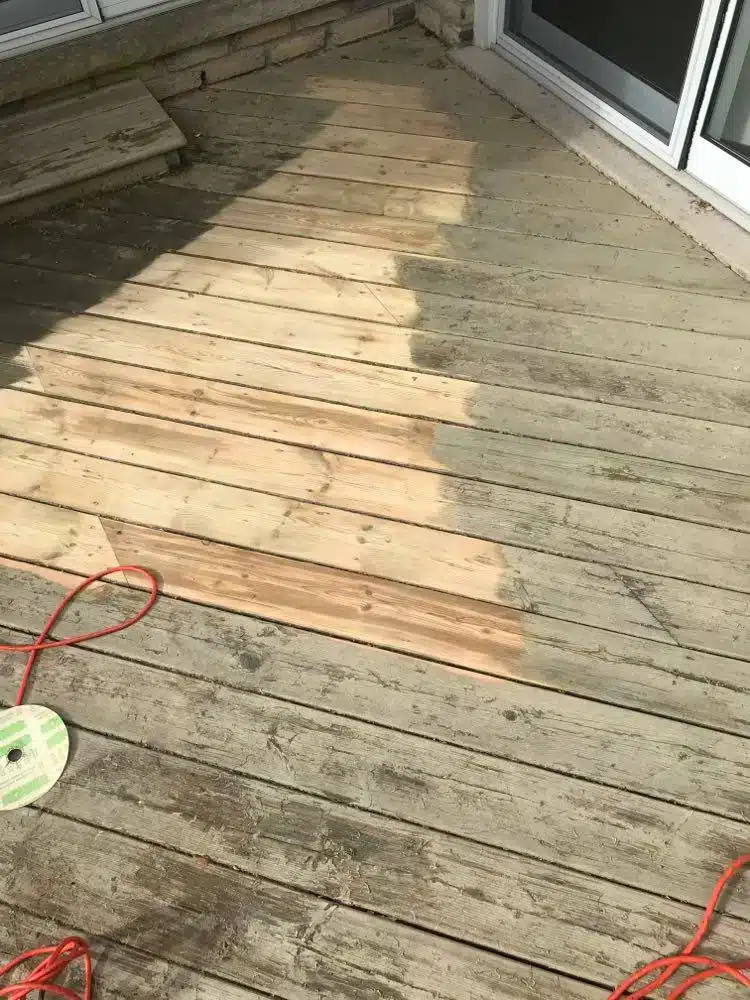
Stripping the Old Finish
Stripping your deck’s old finish is key to a successful refinish. Use a quality wood stripper to break down old stain or paint. Apply it with a roller in small sections, keeping the surface wet—working in the shade helps. Let it sit, then scrub with a stiff brush and rinse well, using a pressure washer if needed. Wear protective gear to avoid contact with harsh chemicals.
In summary, stripping the old finish prepares your previously stained deck for a successful refinishing job. By using a suitable stripper and applying it correctly, you can efficiently remove the old stain or paint, paving the way for a beautiful, clean deck finish that enhances the longevity of your outdoor space.
7. Inspect the Deck for Structural Issues
After cleaning and stripping your deck, it’s crucial to conduct a thorough inspection for structural damage issues that may compromise its integrity. Look for damaged boards, as these can not only detract from the appearance of your deck but also pose safety hazards. Pay close attention to areas where boards may be splintering or rotting, and check for any loose or protruding nails and screws. If you come across damaged boards, they should be replaced promptly with new boards to maintain the structural integrity of your deck.
This inspection phase is essential because neglecting structural problems can lead to larger issues down the line. By ensuring that your deck’s framework is sound, you’re investing in the longevity and safety of your outdoor space. Regular inspections can help catch minor issues before they escalate, ultimately prolonging the life of your deck and keeping it looking its best for years to come.
8. Applying a Wood Brightener
Applying a wood brightener after cleaning and sanding is a highly beneficial step in the deck refinishing process. A wood brightener not only restores the natural color of the wood but also prepares it for the application of stain or sealant. It works by neutralizing any cleaning solutions used previously and brightening the surface, ensuring that the wood is ready to absorb the new stain effectively. A wood brightener is essential for achieving optimal results.
To apply the wood brightener, mix it according to the manufacturer’s instructions and use a garden sprayer or a brush to evenly coat the entire deck surface. Remember to cover all areas, including railings and steps, for a uniform finish. After applying the brightener, allow it to sit for the recommended period before rinsing it off thoroughly, and then it’s time to apply a sealer.
Step Action
1 Mix wood brightener as per instructions.
2 Apply evenly using a sprayer or brush.
3 Allow it to sit briefly.
4 Rinse off thoroughly.
By incorporating a wood brightener into your refinishing routine, you will enhance the appearance of your deck and ensure that your new stain or sealant adheres properly, resulting in a longer-lasting finish.